


Butterfly releases have become a meaningful tradition at many celebrations and remembrance ceremonies. The graceful flight of butterflies symbolizes hope, transformation, love, and new beginnings, making them a […]
Popular Posts
Trending Posts
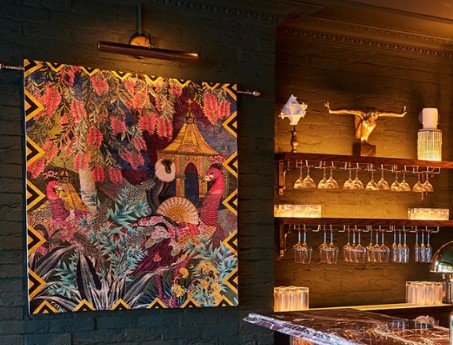
Make Your Own Tapestry: Turn Your Favorite Memories into Timeless Wall Art
Personalized home décor has become one of the biggest interior design trends, allowing homeowners to showcase their personality through unique and meaningful pieces. Among the many customization options […]
7 Warning Signs You May Need Electric Panel Repair
Your home’s electrical panel serves as the central hub that distributes electricity safely throughout the property. As modern households rely on more appliances, smart devices, and high-powered equipment, […]
Choosing Santa Fe storage units That Match Your Lifestyle
Living well in a beautiful, busy city very often means finding smart, flexible ways to manage genuinely limited space. For residents, Santa Fe storage units and portable steel […]
Floating Fountains for Ponds: How to Choose the Right Style and Size
Adding a fountain is one of the fastest ways to improve the appearance and health of a pond at the same time. Floating fountains for ponds are especially […]

Why Brooklyn Creators Prefer Professional Photo Studio Rentals
Brooklyn has become one of the most active creative hubs for photographers, content creators, and brands looking for high-quality visual production spaces. With the growing demand for professional […]

Why a 36 Inch Chimney Range Hood Is a Smart Upgrade for Modern Kitchens
Kitchen ventilation is often overlooked during home design, yet it plays a major role in maintaining indoor air quality and creating a comfortable cooking environment. Every time you […]

Why Choose Akel Homes: The Boutique Builder Redefining 55+ Living in South Florida
Choosing a homebuilder is one of the most consequential decisions any buyer makes. Understanding why choose Akel Homes means looking at what distinguishes a boutique builder’s approach from […]
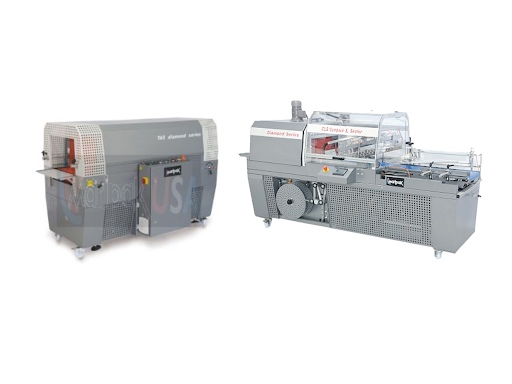
Shrink Packaging Machine: Types, Applications, and How to Choose the Right System
Shrink wrapping has become one of the most widely used secondary packaging formats across retail, food service, industrial distribution, and e-commerce fulfilment — and the range of equipment […]
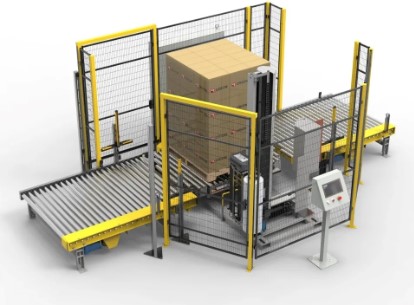
Why the Orion Frame Is Essential for Industrial Equipment Stability
Industrial machinery relies on numerous structural elements to ensure reliable performance, operational safety, and long-term durability. Among these essential structural elements, the Orion frame plays a significant role […]