

[ad_1]
Has the frustration of using the Windows operating system reached a tipping point for you? You’ve probably had to deal with random reboots to upgrade, failed upgrades, unsupported hardware, crashes, and a never-ending inflexibility and general unreliability.
If that sounds like your experience with Windows, I’d like to introduce you to something better, more reliable, and free. Said something is Linux and it’s been my operating system of choice since 1997. Now, back in those early days, Linux was a significant challenge to use and an even greater headache to install.
That was then, this is now. With some small exceptions (such as Gentoo and Arch), modern Linux has become incredibly easy to use and even install.
Also: Best Linux distros for beginners
I know, I know…you’re thinking, “I can’t install an operating system!” Au contraire, mon ami. If you can install an application, you can install Linux.
Don’t believe me? Let me show you by way of Ubuntu Desktop 22.04. I’ll be demonstrating with the beta release of this iteration, but the installation will be the same when the full release is made available.
A word of warning: Make sure you’re installing Ubuntu on a machine you can spare. Save any important data from that system to an external drive, as once you’ve installed Ubuntu whatever operating system and user account that was previously on the machine will be toast.
To make this work, you’ll need to download the ISO image for the latest release of Ubuntu. Once you have that downloaded, you’ll then need to burn the ISO image to a USB flash drive using a tool like Unetbootin (which can be installed on Linux, macOS, or Windows). Burning the ISO image to a USB drive isn’t just copying the file to the removable device; instead, it creates a bootable drive from which you can then install the operating system.
Once you’ve installed Unetbootin, insert your USB drive, open the application, and then select Diskimage, click the three horizontal dots (Figure A), and locate the ISO image you downloaded.
Figure A
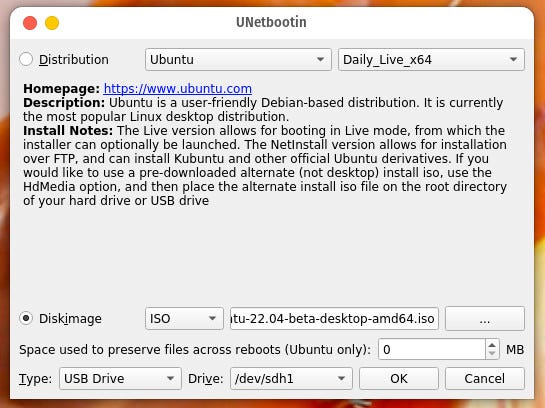
The Unetbootin tool makes it easy to create a bootable USB drive from an ISO image.
From the Drive drop-down, select the USB device (making absolutely certain you’ve selected the right device) and click OK to burn the ISO to the drive.
Once Unetbootin completes, safely remove the USB device, insert it into the machine that will house your new installation of Ubuntu, and boot up.
The first screen (Figure B) allows you to either try Ubuntu or install it.
Figure B
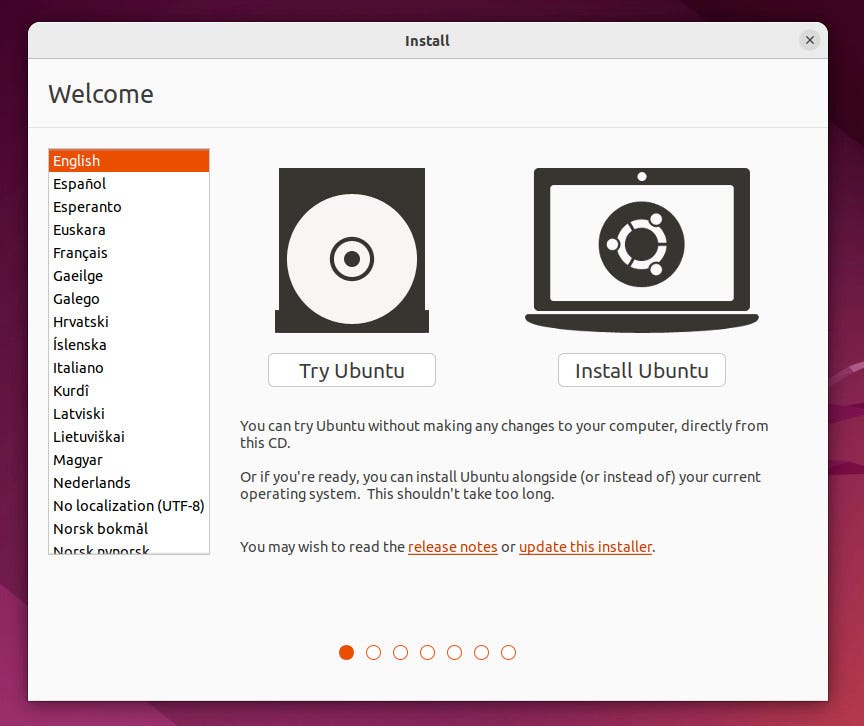
The first step of the installation process makes it possible to first test the operating system, running everything from RAM and making zero changes to your drive.
Click Install Ubuntu and then (in the resulting window – Figure C) select the keyboard layout and click Continue.
Figure C

The default keyboard layout is English QWERTY, but can easily be changed to your keyboard of choice.
In the next screen (Figure D), click the check box for Install third-party software for graphics and Wi-Fi hardware and additional media formats. This option will install several codecs so you can play numerous media files.
Figure D
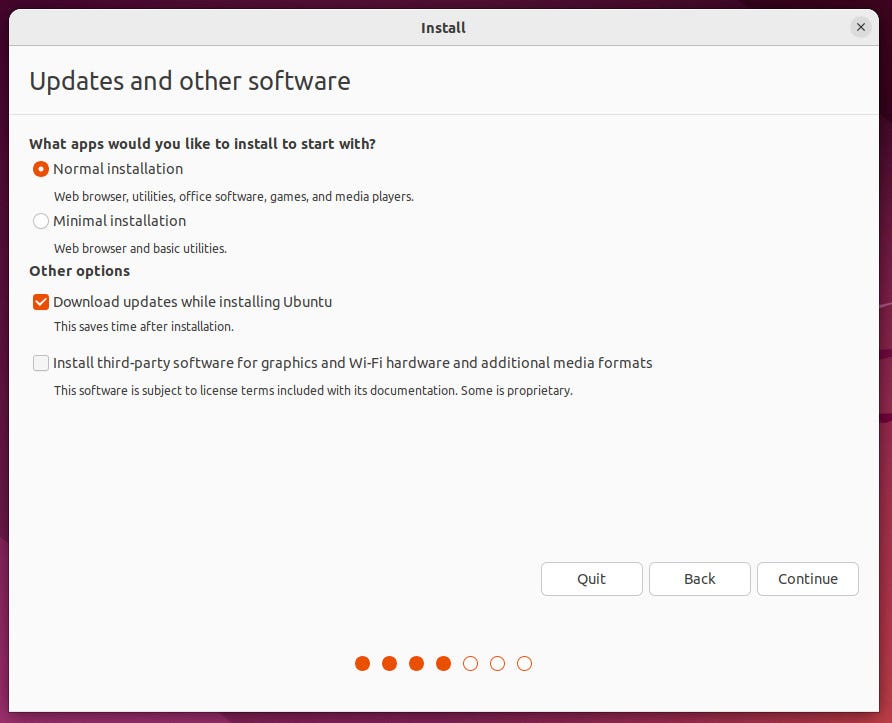
You’ll want to keep the Normal installation checked and add the installation of third-party software.
Click Continue and, in the next window (Figure E), keep all of the defaults and click Install Now.
Figure E
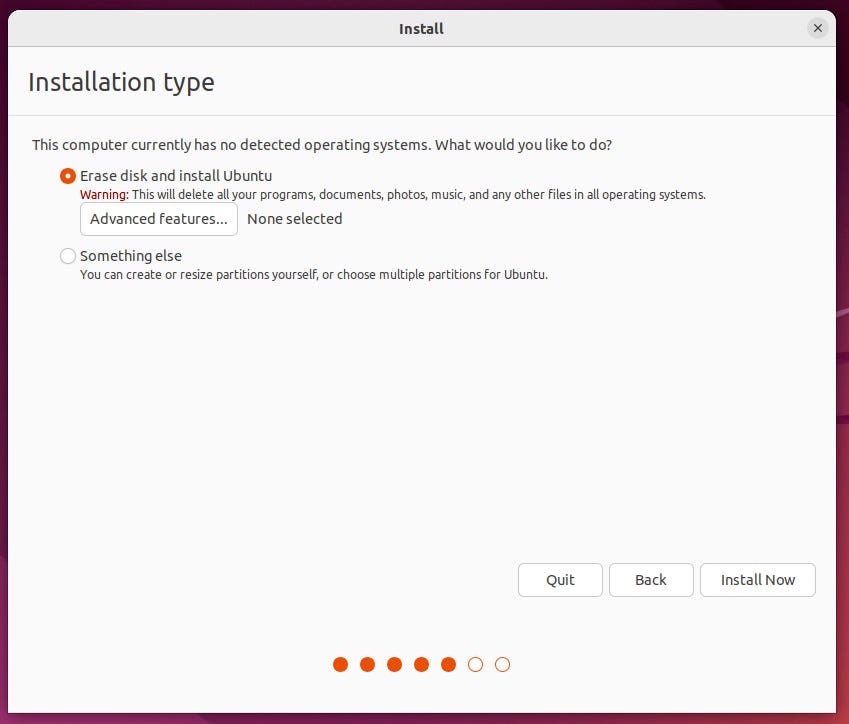
Unless you know what you’re doing here, leave the default as Erase disk and install Ubuntu.
You will then be prompted to proceed with the installation (Figure F).
Figure F
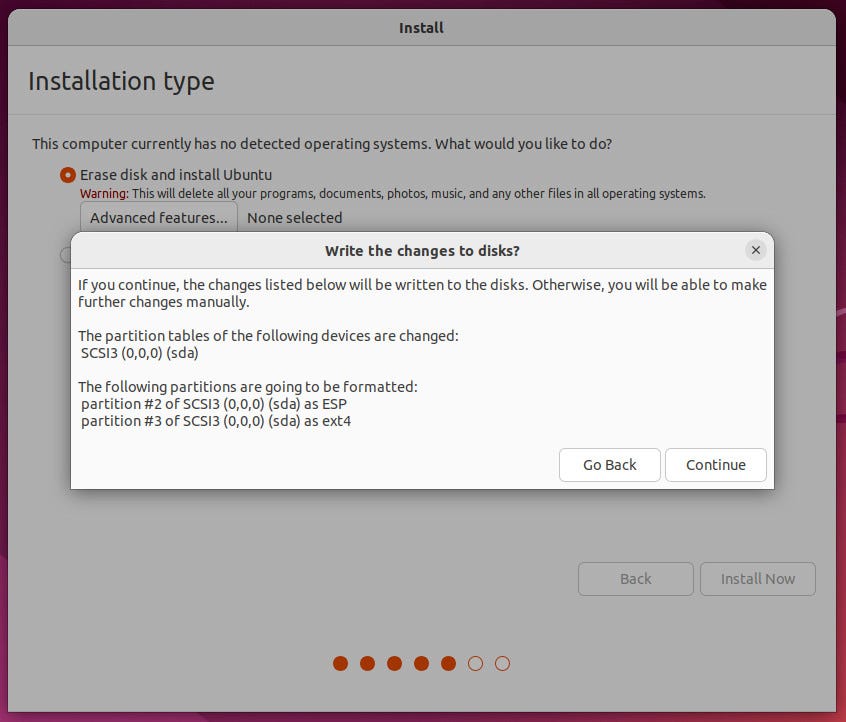
Once you click Continue, there’s no going back.
In the next window (Figure G), either select on the map or type your location and click Continue.
Figure G
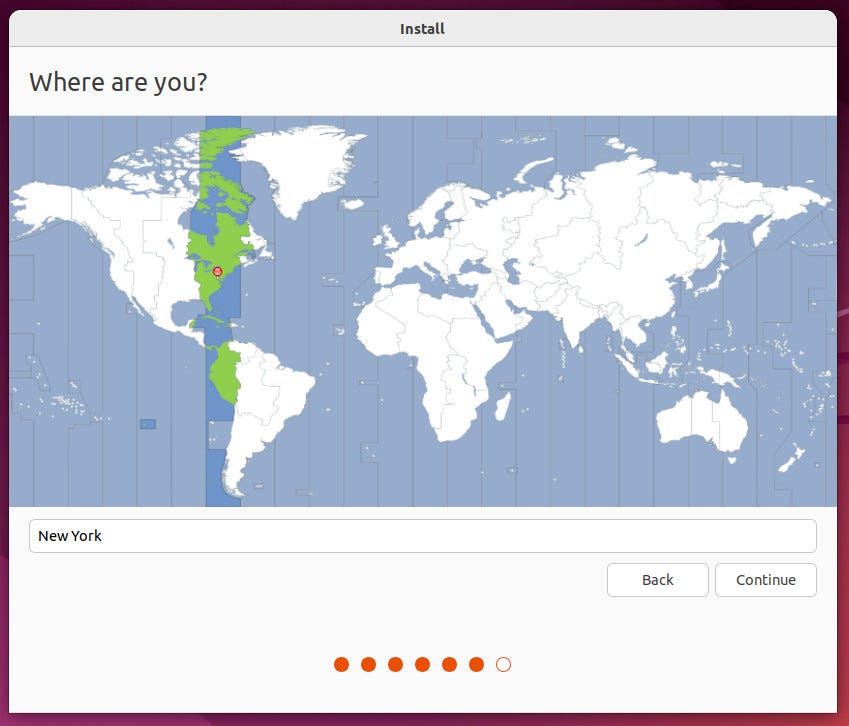
Configuring your location so Ubuntu knows what time zone to use.
Next, you must create a user for the system (Figure H). Type your full name, a name for the computer (which can be anything you like, such as ubuntulinux), a username, and a password.
Figure H
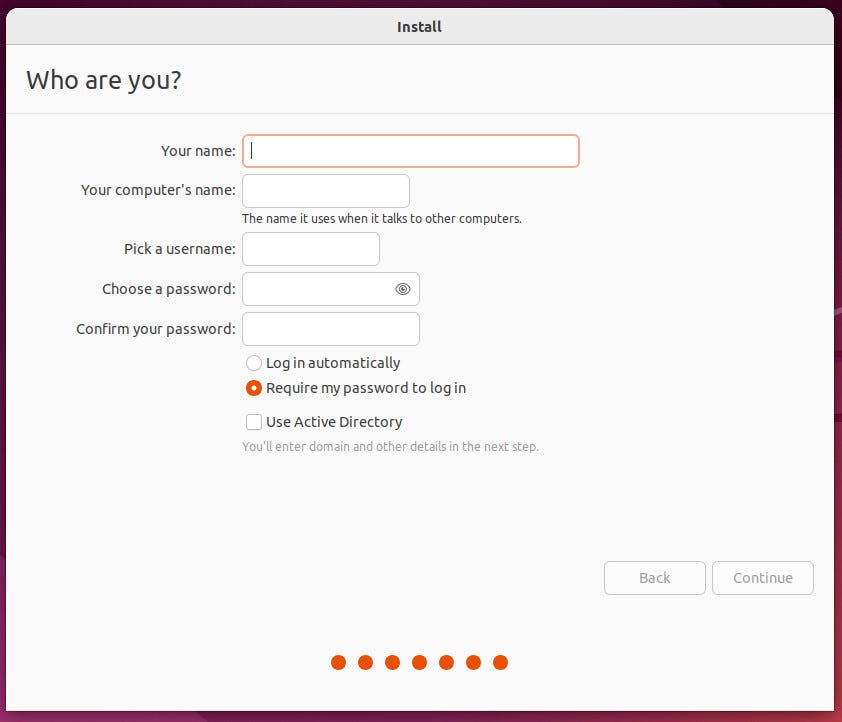
Creating a user account for your new installation.
Make sure to keep Require my password to login checked (otherwise your system will be less secure). Click Continue and the installation will begin. It should take at the most five minutes to complete the process (depending on the speed of your network and system).
When the installation completes, you’ll be prompted to restart the computer (Figure I).
Figure I
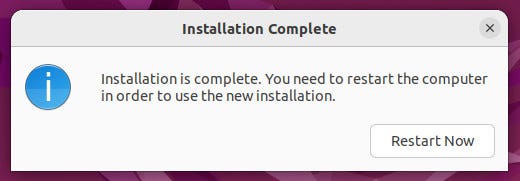
You’re almost finished!
Finally, you’ll be prompted (Figure J) to remove the installation media (the USB drive) and hit Enter on your keyboard.
Figure J
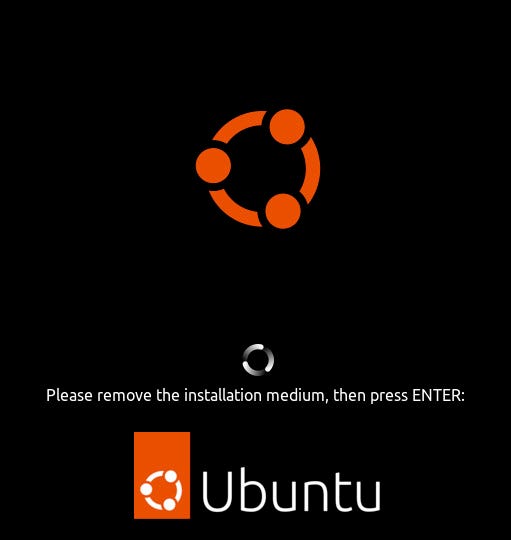
One final prompt and the installation is completed.
When the machine reboots, you’ll be greeted by the login screen (Figure K). Enter the username and password you created during installation and enjoy Ubuntu Desktop Linux.
Figure K
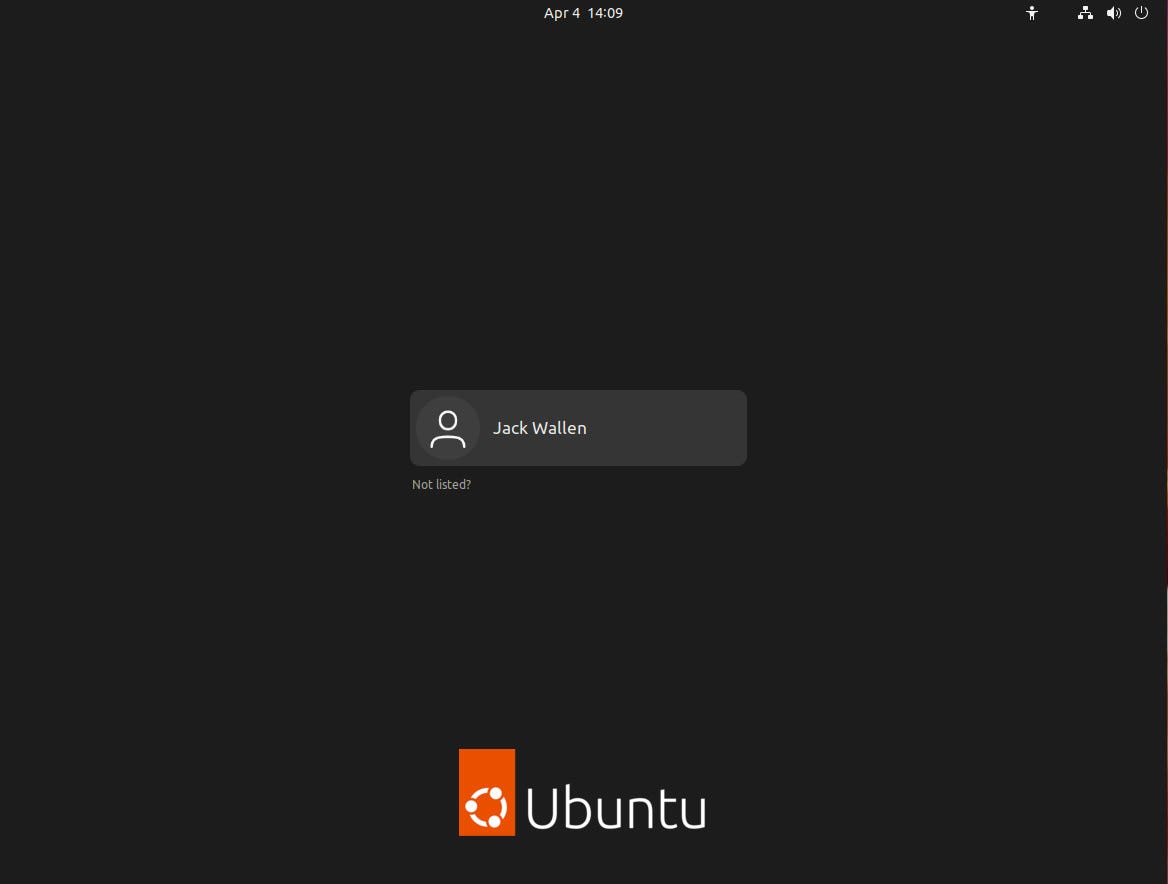
The Ubuntu 22.04 login screen.
And that’s all there is to installing Ubuntu Desktop Linux. And you thought this was going to be a challenge. Congratulations on taking your first step toward desktop freedom.
[ad_2]
Source link